DIY Standing desk for 8 € (and some tools)
Standing desks are becoming more and more popular in the last years. Don’t know what a standing desk is? It’s a desk of a certain height so you could work while standing instead of sitting. Why? Because sitting is lethal. Standing keeps you more engaged in your work, more dynamic, less lazy and has some health benefits like better posture, but too much standing may hurt and be unhealthy. So the best thing may be the aurea mediocritas, a path in the middle. There are many many many posts on Lifehacker about standing desks, just check them out for more details. I may suggest you this one.
Usually the standing desk is intended for computers, since it may not be so easy to write on paper when standing. At least my handwriting is already bad when sitting, so I’m not even trying it when standing.
A modular desk
I wanted to give this standing desk a try without spending too much and without leaving my desk, so I created a modular desk, where I could stand or sit whenever I wanted to. It’s an extension of my sitting desk to use it as a standing one if I wanted to, by placing a raised part on the desk. I spent only 8 € since I already own some tools, glue and other stuff.
Final result
Its weight is 3.5 kg once cut, so it’s very easy to place on the desk or remove when using the desk while sitting. Some A4 paper for scale.

My sitting desk with the standing module
Parts
I went to Ikea to buy this side table, called Lack. It’s product code is 401.042.70. You can use that in the search bar in their web page to find it. I chose the Birch effect texture, but this is up to you.
It’s sold with the screws to fix the legs on the bigger part. It’s cost was 8 € so I gave it a try.
Tools
- Vinyl glue for wood
- Circular saw
- Hand saw for metal or any other more precise hand saw
- Four pieces of wood or plywood
- Sandpaper between 120 and 200
- Four pieces of rubber
- Mastic
- Stick-on floor protector(s)
- Four clamps
- Level, a long one
Procedure
I took some measures since I had to cut the legs to adapt it to my height. When placed on my desk my forearms had to be horizontal, when typing on my computer placed on the Lack. So I cut the legs at the correct height. They are hollow.

Cut some pieces of plywood and scratch them with the sandpaper so they can hardly fit the inner part of the legs. Use a lot of vinyl glue and of course let it dry for a few hours.

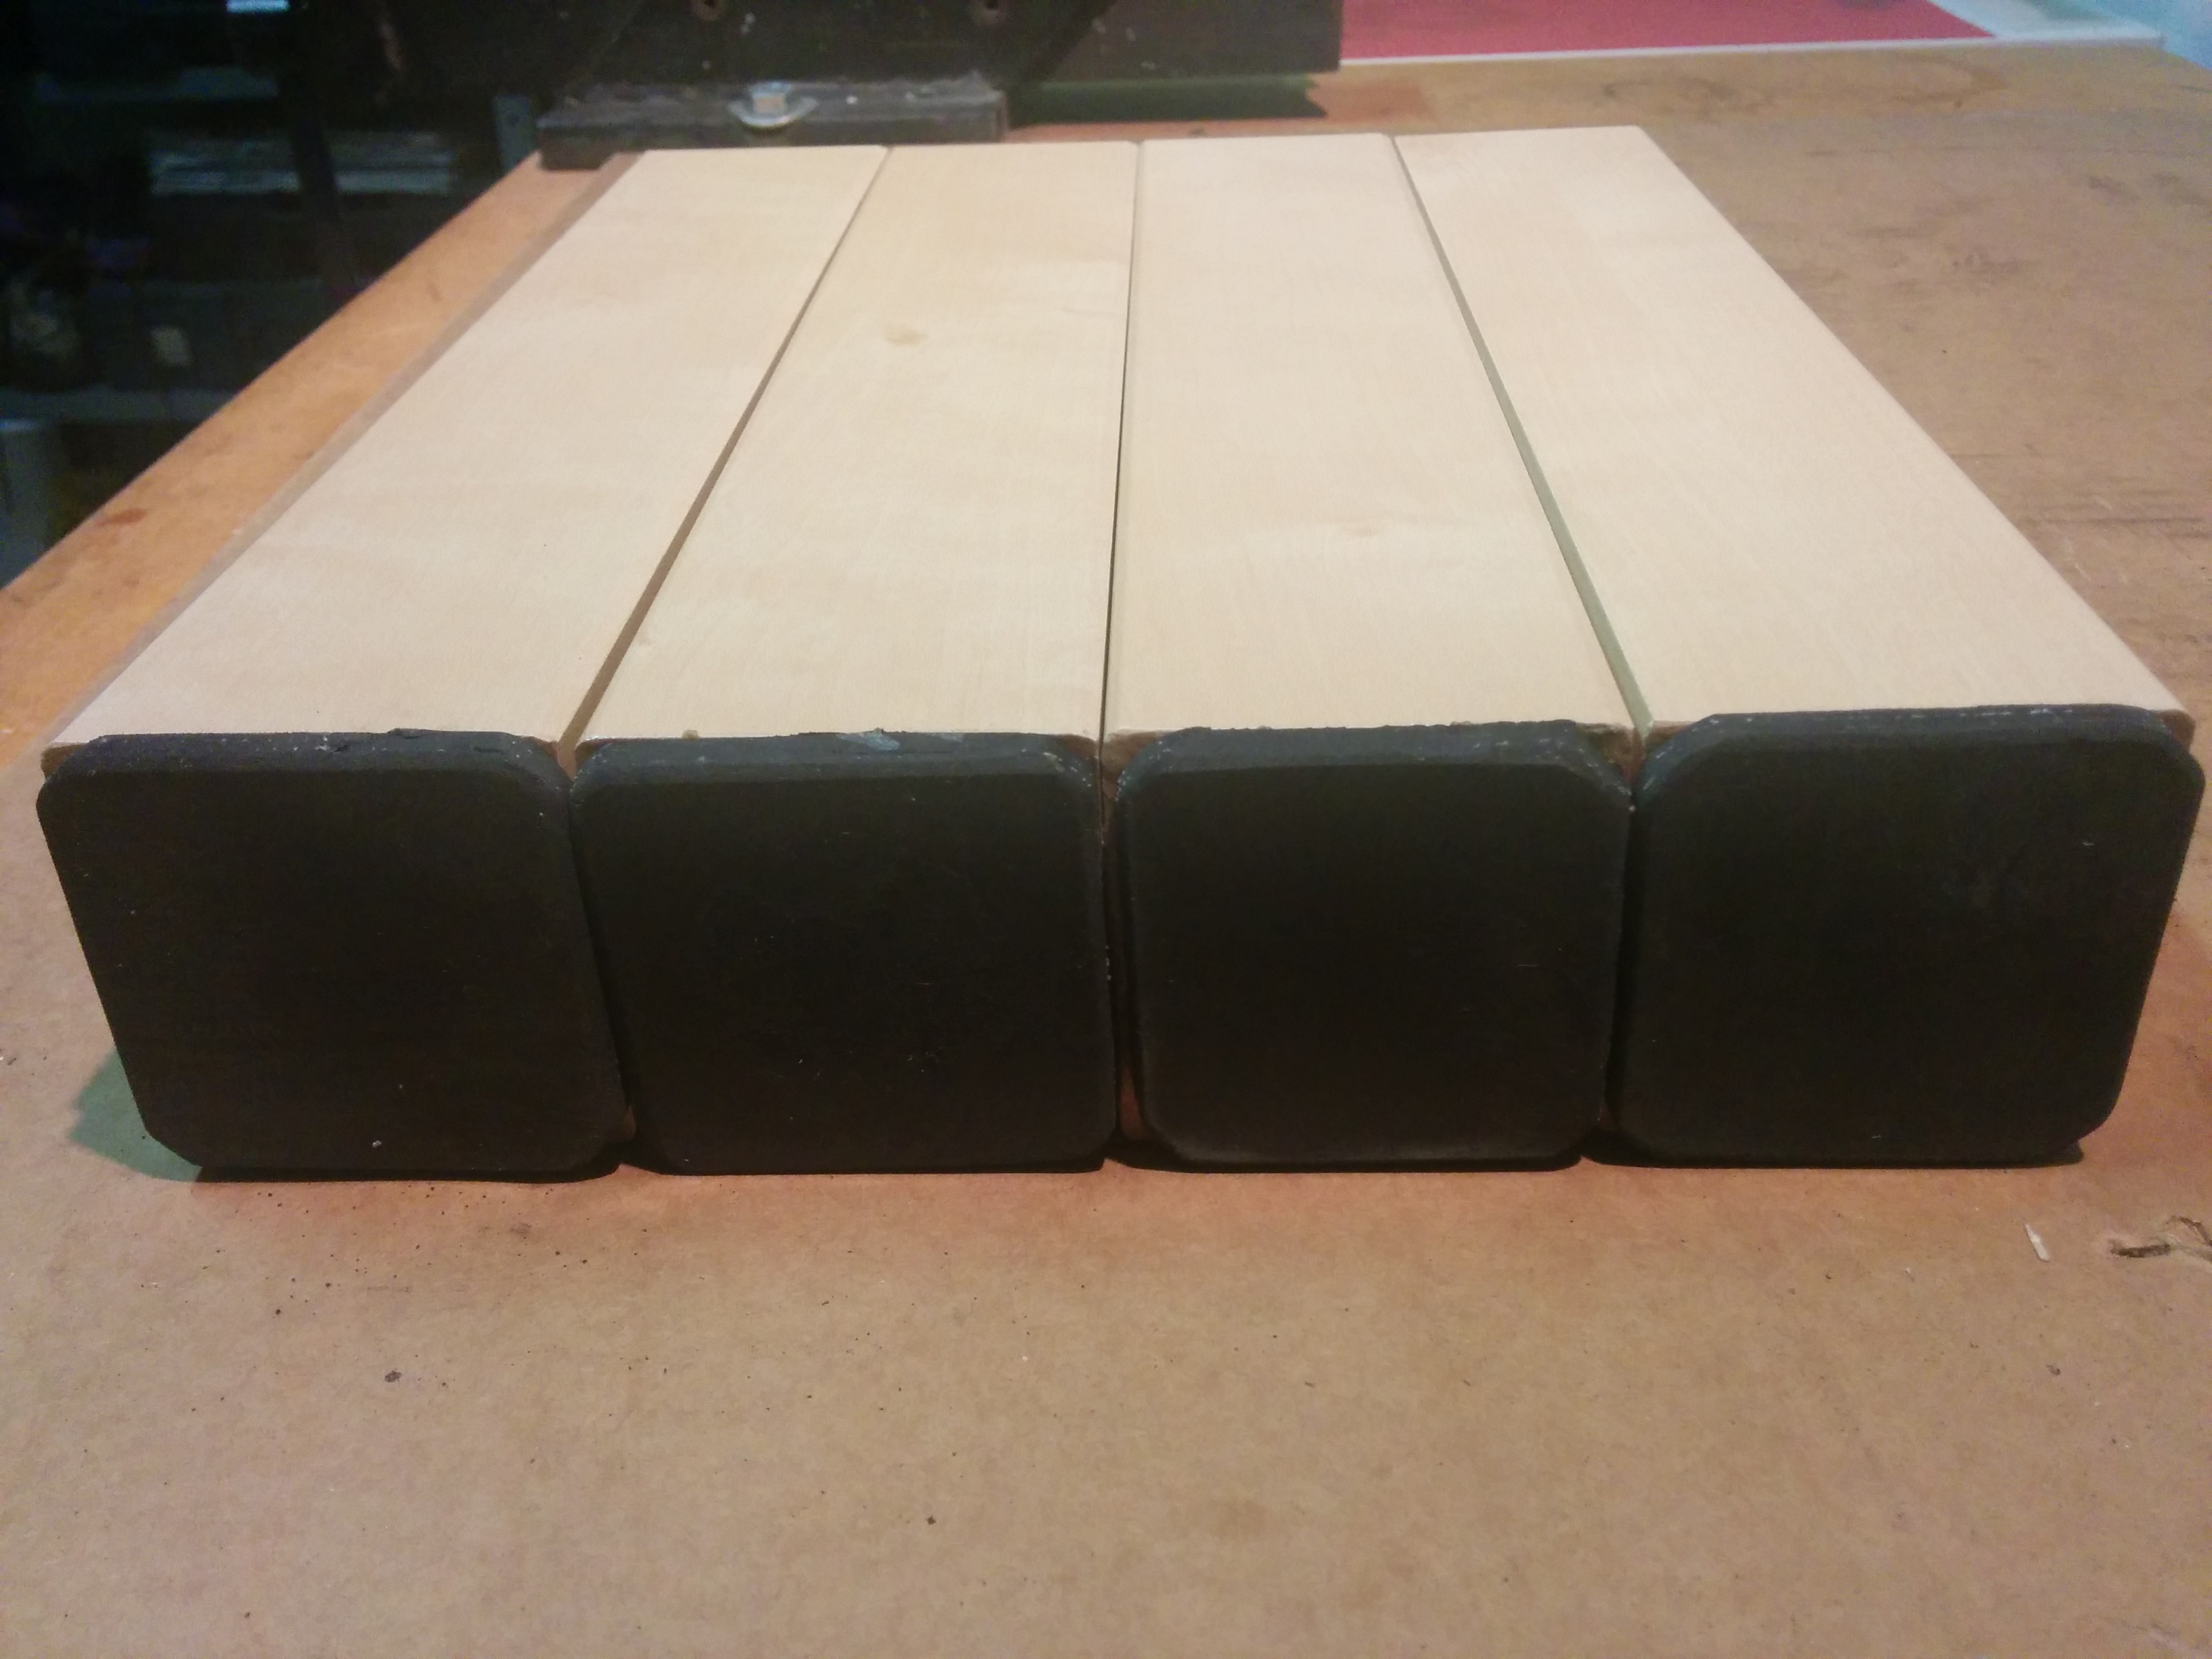
After that cut some rubber squares to fit the bottom of the leg and used the sandpaper to make it look more “stylish” (rounded edges and corners). The rubber will provide a good grip with the surface of the sitting desk and will prevent scratching. An alternative may be using stick-on floor protectors but your Lack may lacking (no pun intended) grip.

Place the rubber with mastic and apply some pressure for a couple of hours with a clamp or a weight.

The legs are done.
Now take the upper part of the Lack. You can see the 4 little holes on the sides.

The Ikea screws have to be applied in the legs and then in the table.


Aaaand it looks cool, but it’s not yet the end. We need to verify if it’s horizontal. Some leveling is needed or the table will be unstable. Place the Lack upside down and be sure it’s on a horizontal surface.

After that verify that every leg is at the same height with every leg. If not, scratch the rubber with the sandpaper of the taller legs.

Since only one of the legs was incorrect and I was tired of scratching it, I put a stick-on floor protector on another leg. Now the leg with the protector was to tall, so I scratched the protector. It’s not a very clean solution, but it worked.


Hope it helped!
Tags: Computer // Lifehack // Desk // Standing Desk // Wood // Maker